This guide walks through a whole project, from choosing a place and dates to getting the weather, picking your colors and ranges, previewing it, and saving and printing the project. Each step links to more detail if you want it.
What You Need
- A project you're likely to finish. A year of rows is a big commitment, so a scarf, shawl, socks or a shorter stretch of days are good choices too. The planner works the same way for all of them.
- The place your blanket is about, like your town, and its dates: a year, a trip, or any stretch up to 370 days.
- Yarn, if you've picked it. If not, you can choose colors first and match them to yarn later.
- That's it! You don't need an account, though signing in keeps your project on all your devices.
1. Choose a Place and Dates
- Open the Project Planner: Create, then Project, in the site menu.
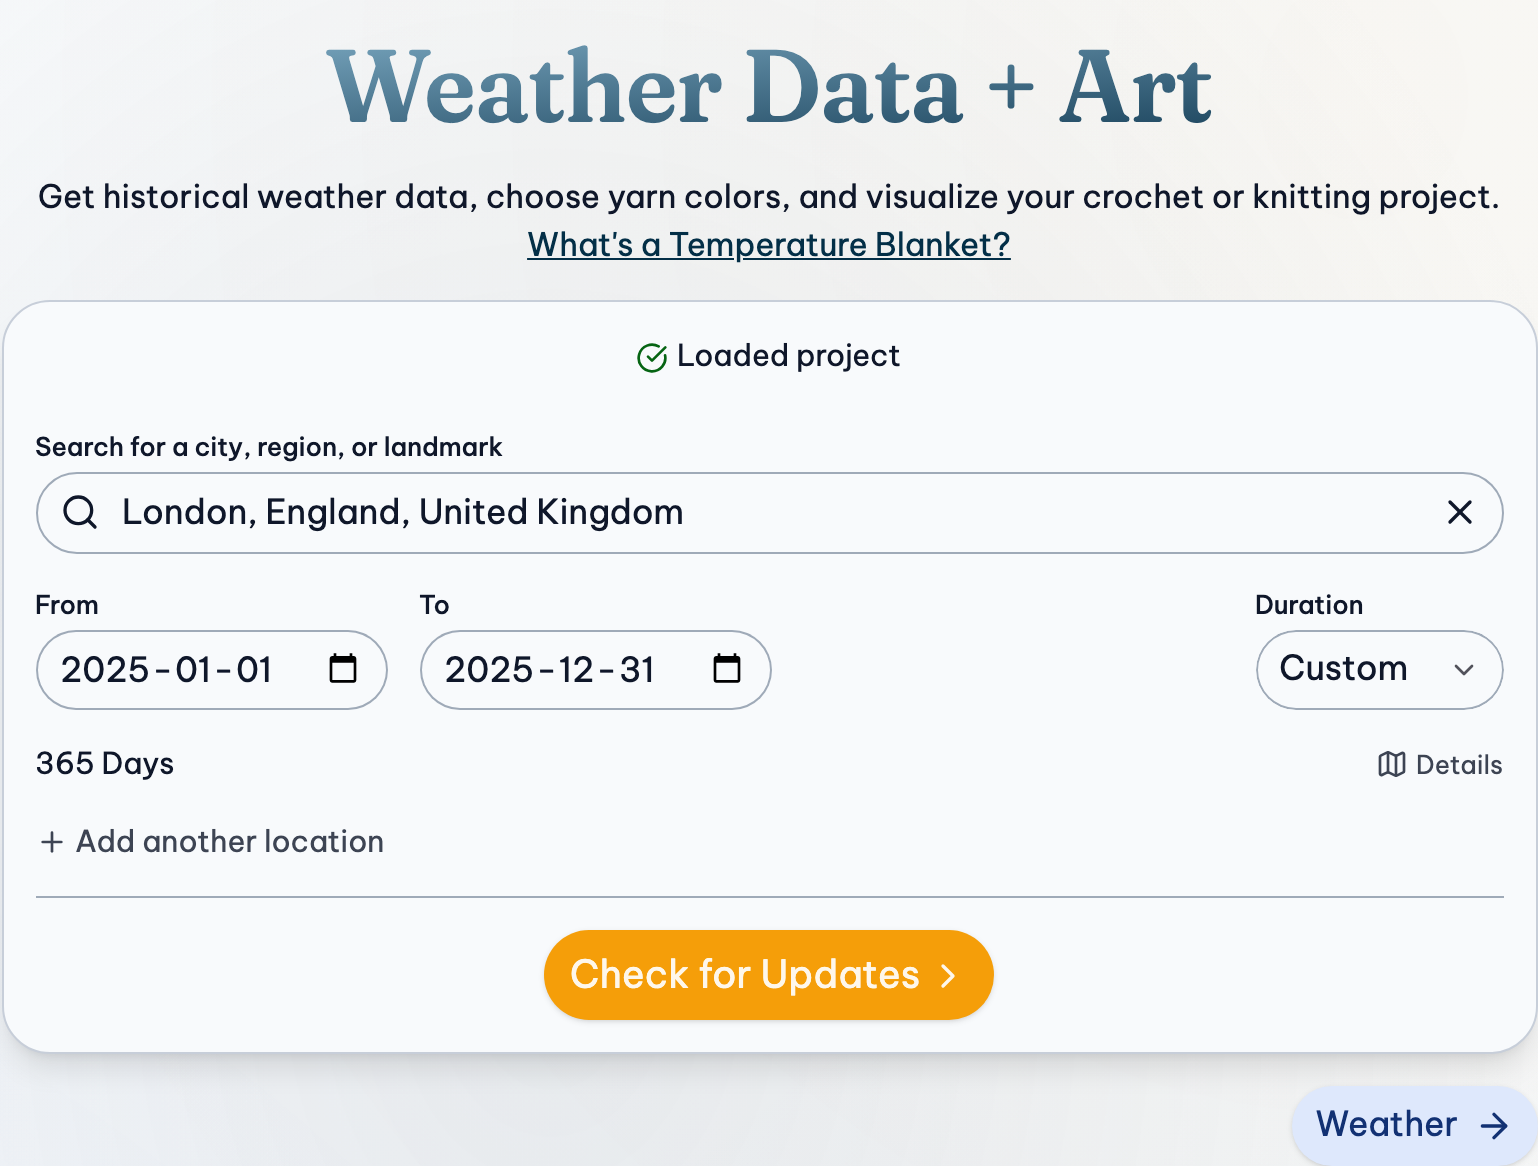
- Type your place in the search box, and choose it from the list.
- Choose a Duration: One Year (then the year, month and day it starts) or Custom (any From and To dates).
If you're making a blanket for this year as it happens, choose the whole year anyway. The days that haven't happened yet get filled in as they pass. Crocheting or knitting along all year.
2. Get the Weather
- Press Get Weather Data. It takes a few seconds, then the planner moves on to the Weather step.
- Look it over: the summary at the top has your hottest and coldest days, the chart shows the whole year, and the table below it lists every day.
- To switch to °F and inches, press Units in the toolbar above the weather.
For one row a week instead of one a day, choose Grouping, then Weekly. See Weather.
3. Choose Your Colors
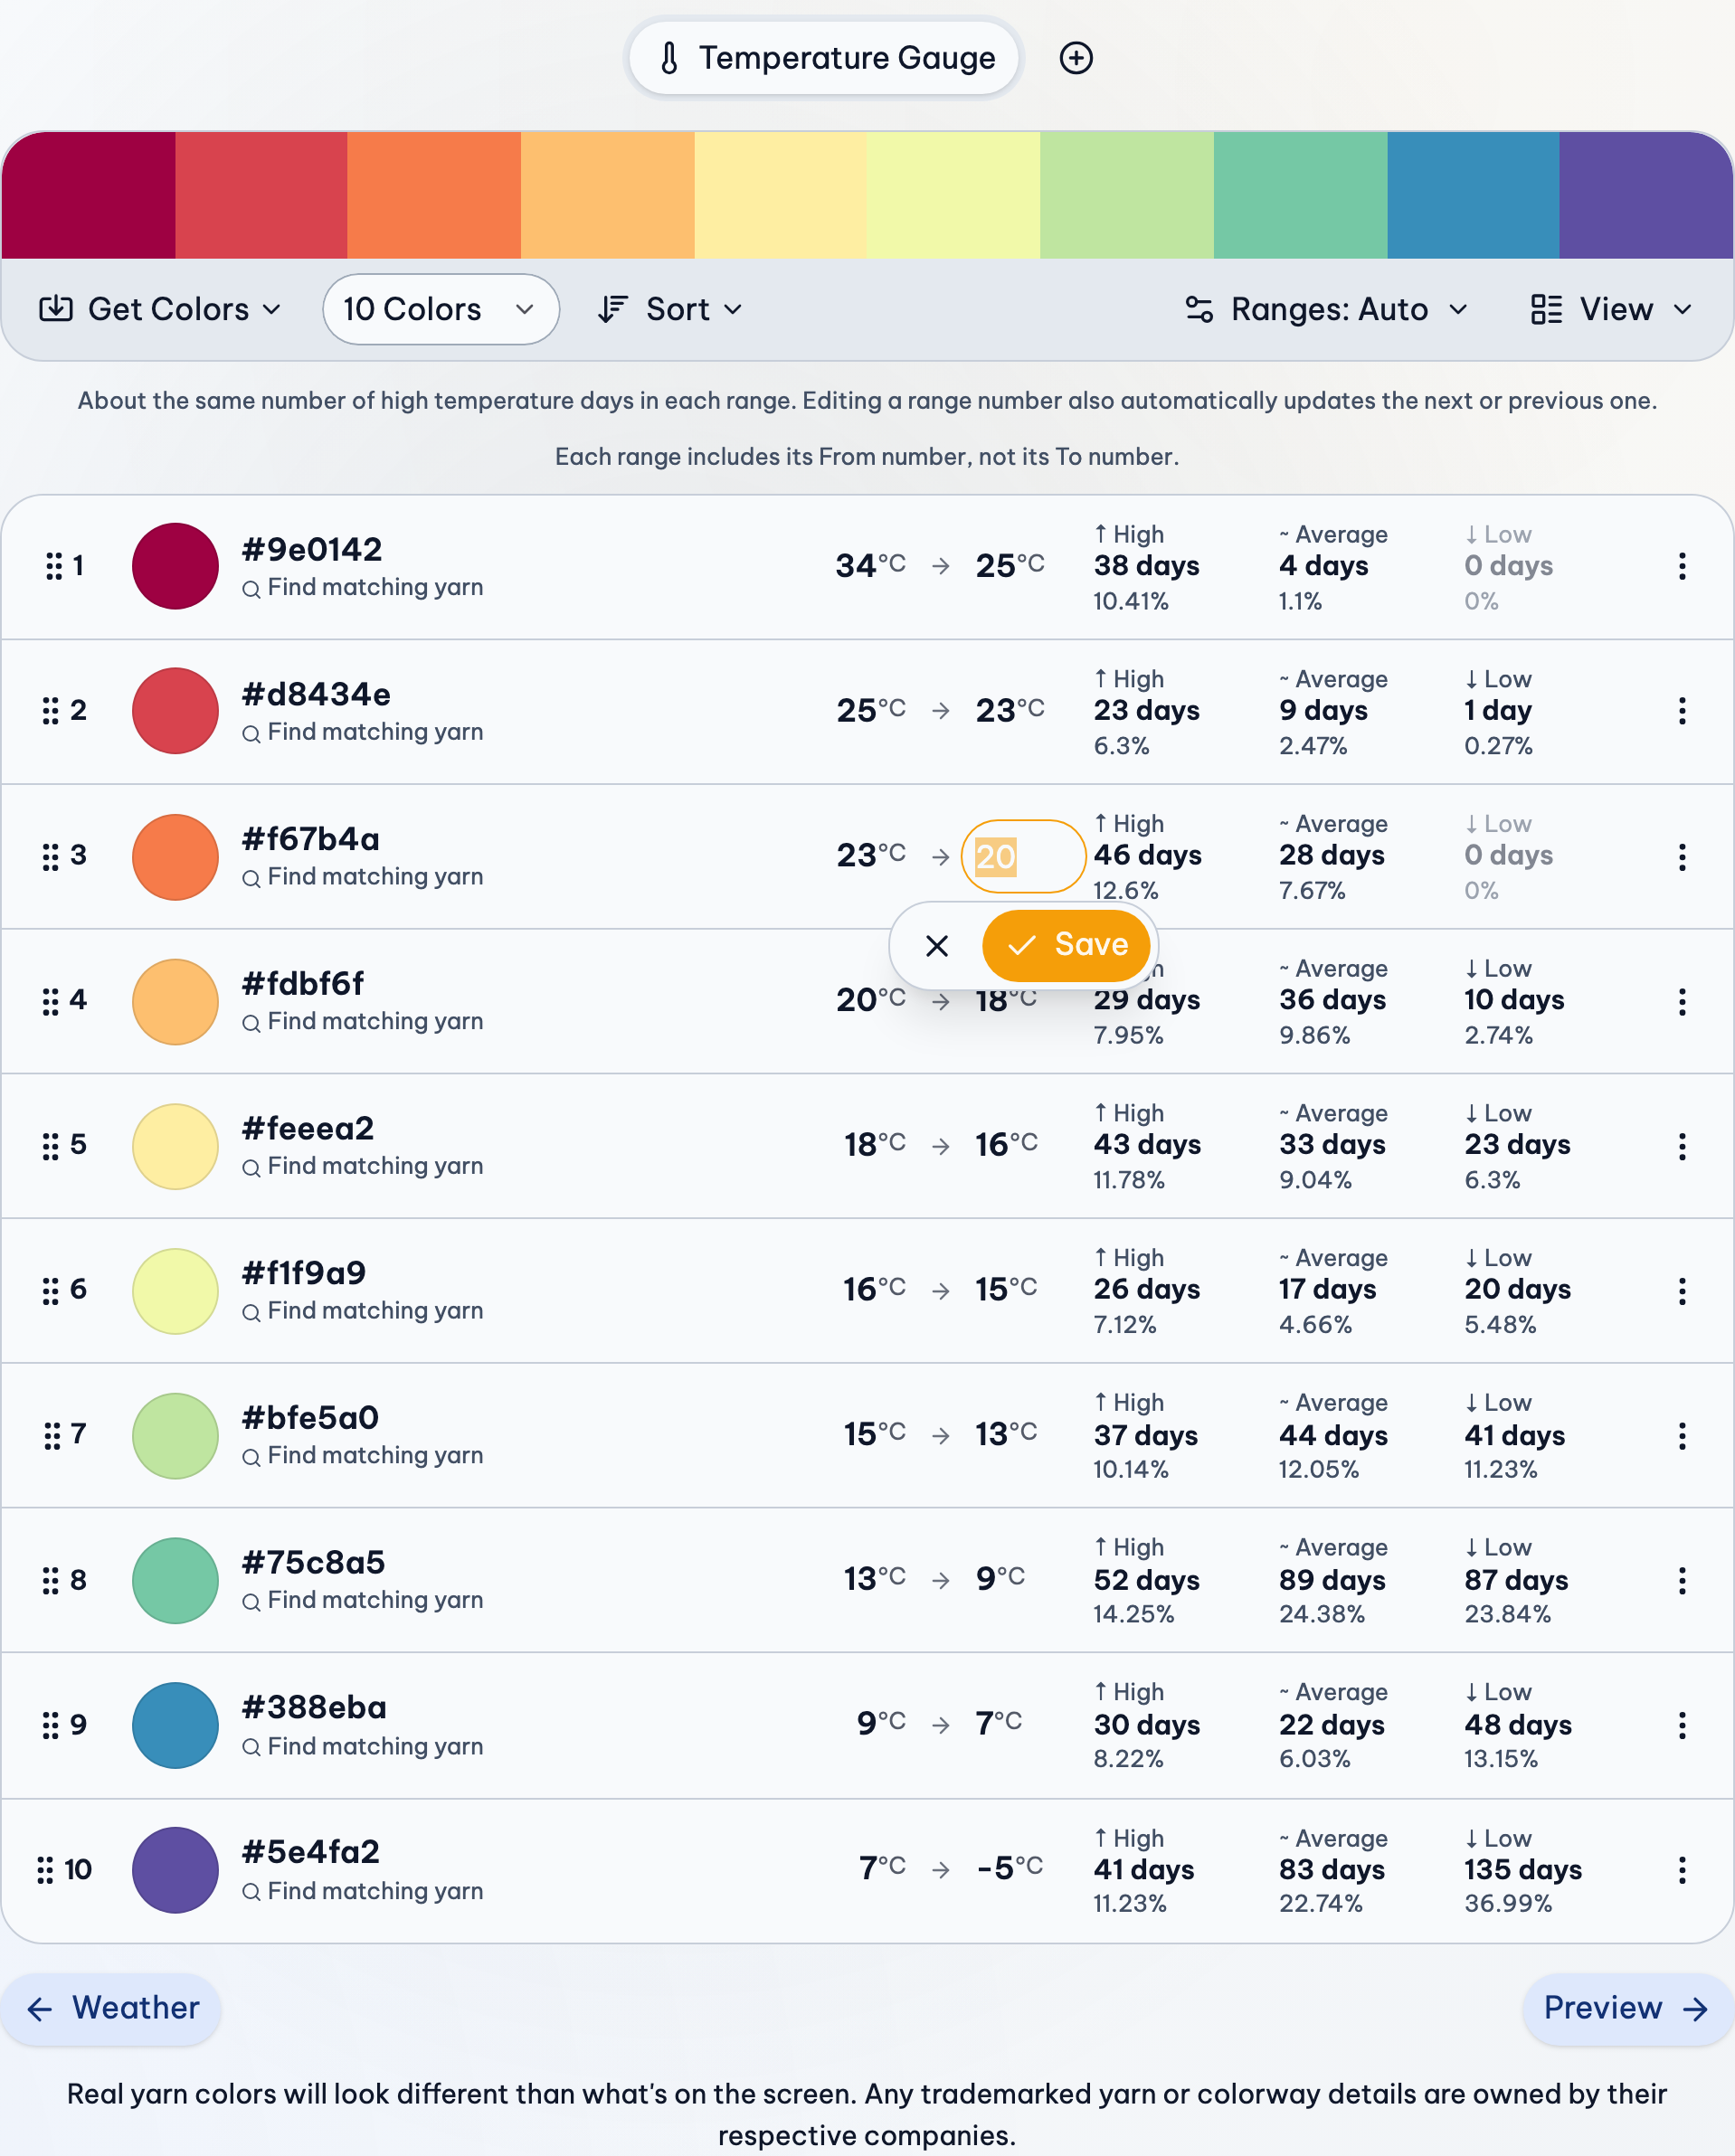
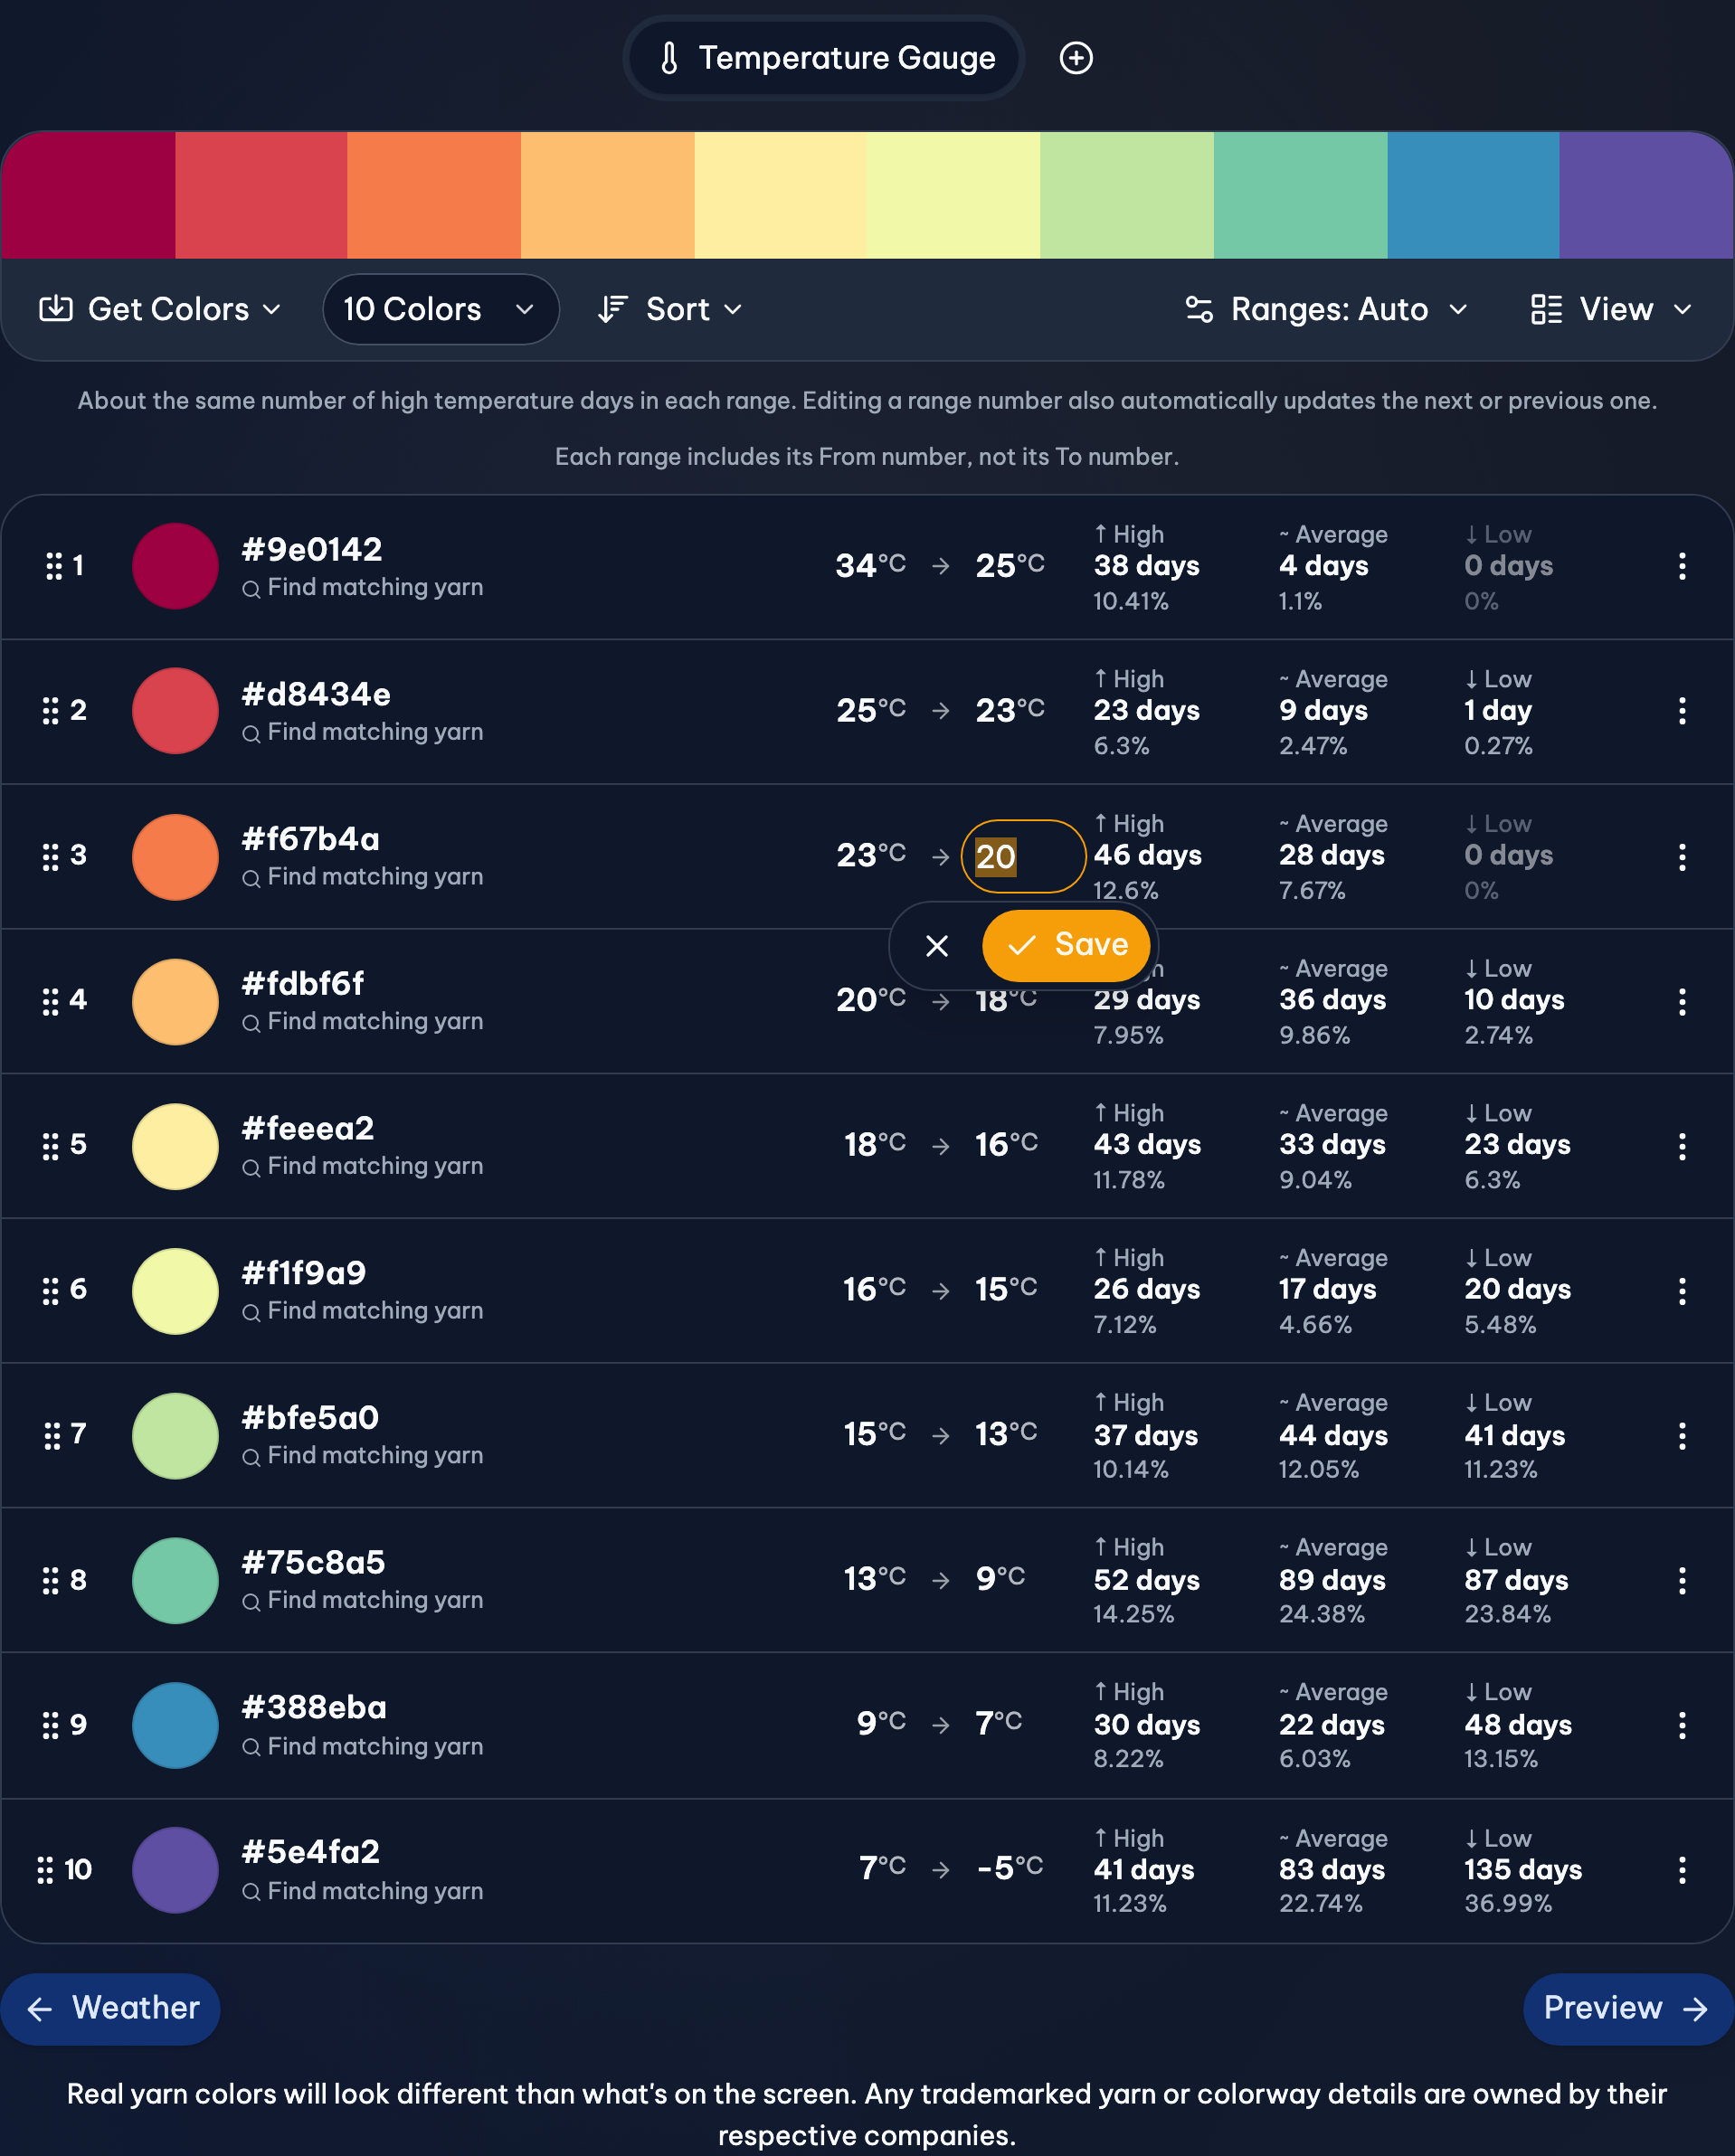
The Colors step shows the Temperature Gauge. It's the key to your blanket: a list of colors, each standing for a range of temperatures. It starts with some colors to try, which you can change:
- Choose how many colors you want in the toolbar at the top of the gauge, beside Get Colors (like 12 Colors). More colors means smaller ranges, and a more detailed blanket.
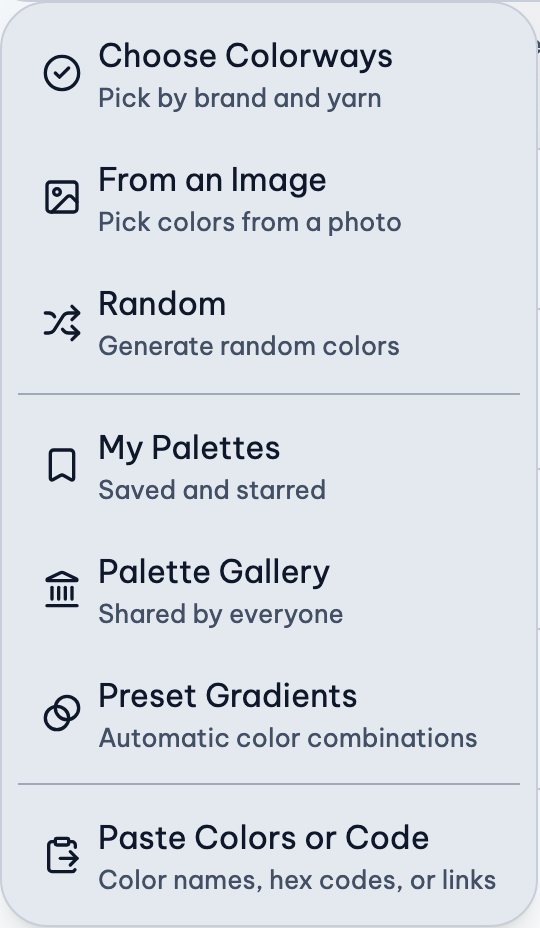
- Press Get Colors, then Choose Colorways to pick real yarn, or Preset Gradients, From an Image and more.
- To change one color, press its swatch.
4. Set the Ranges
Each color's range is shown beside it, like 30 → 25. To start with, the ranges are based on your weather, so every day gets a color. To change them:
- One number: press it, type the new one, and press Save. The next range follows along.
- All of them: press Ranges. Choose Equal days to use every color about as often, or Manual steps… for round steps like every 5°.
5. Preview Your Blanket
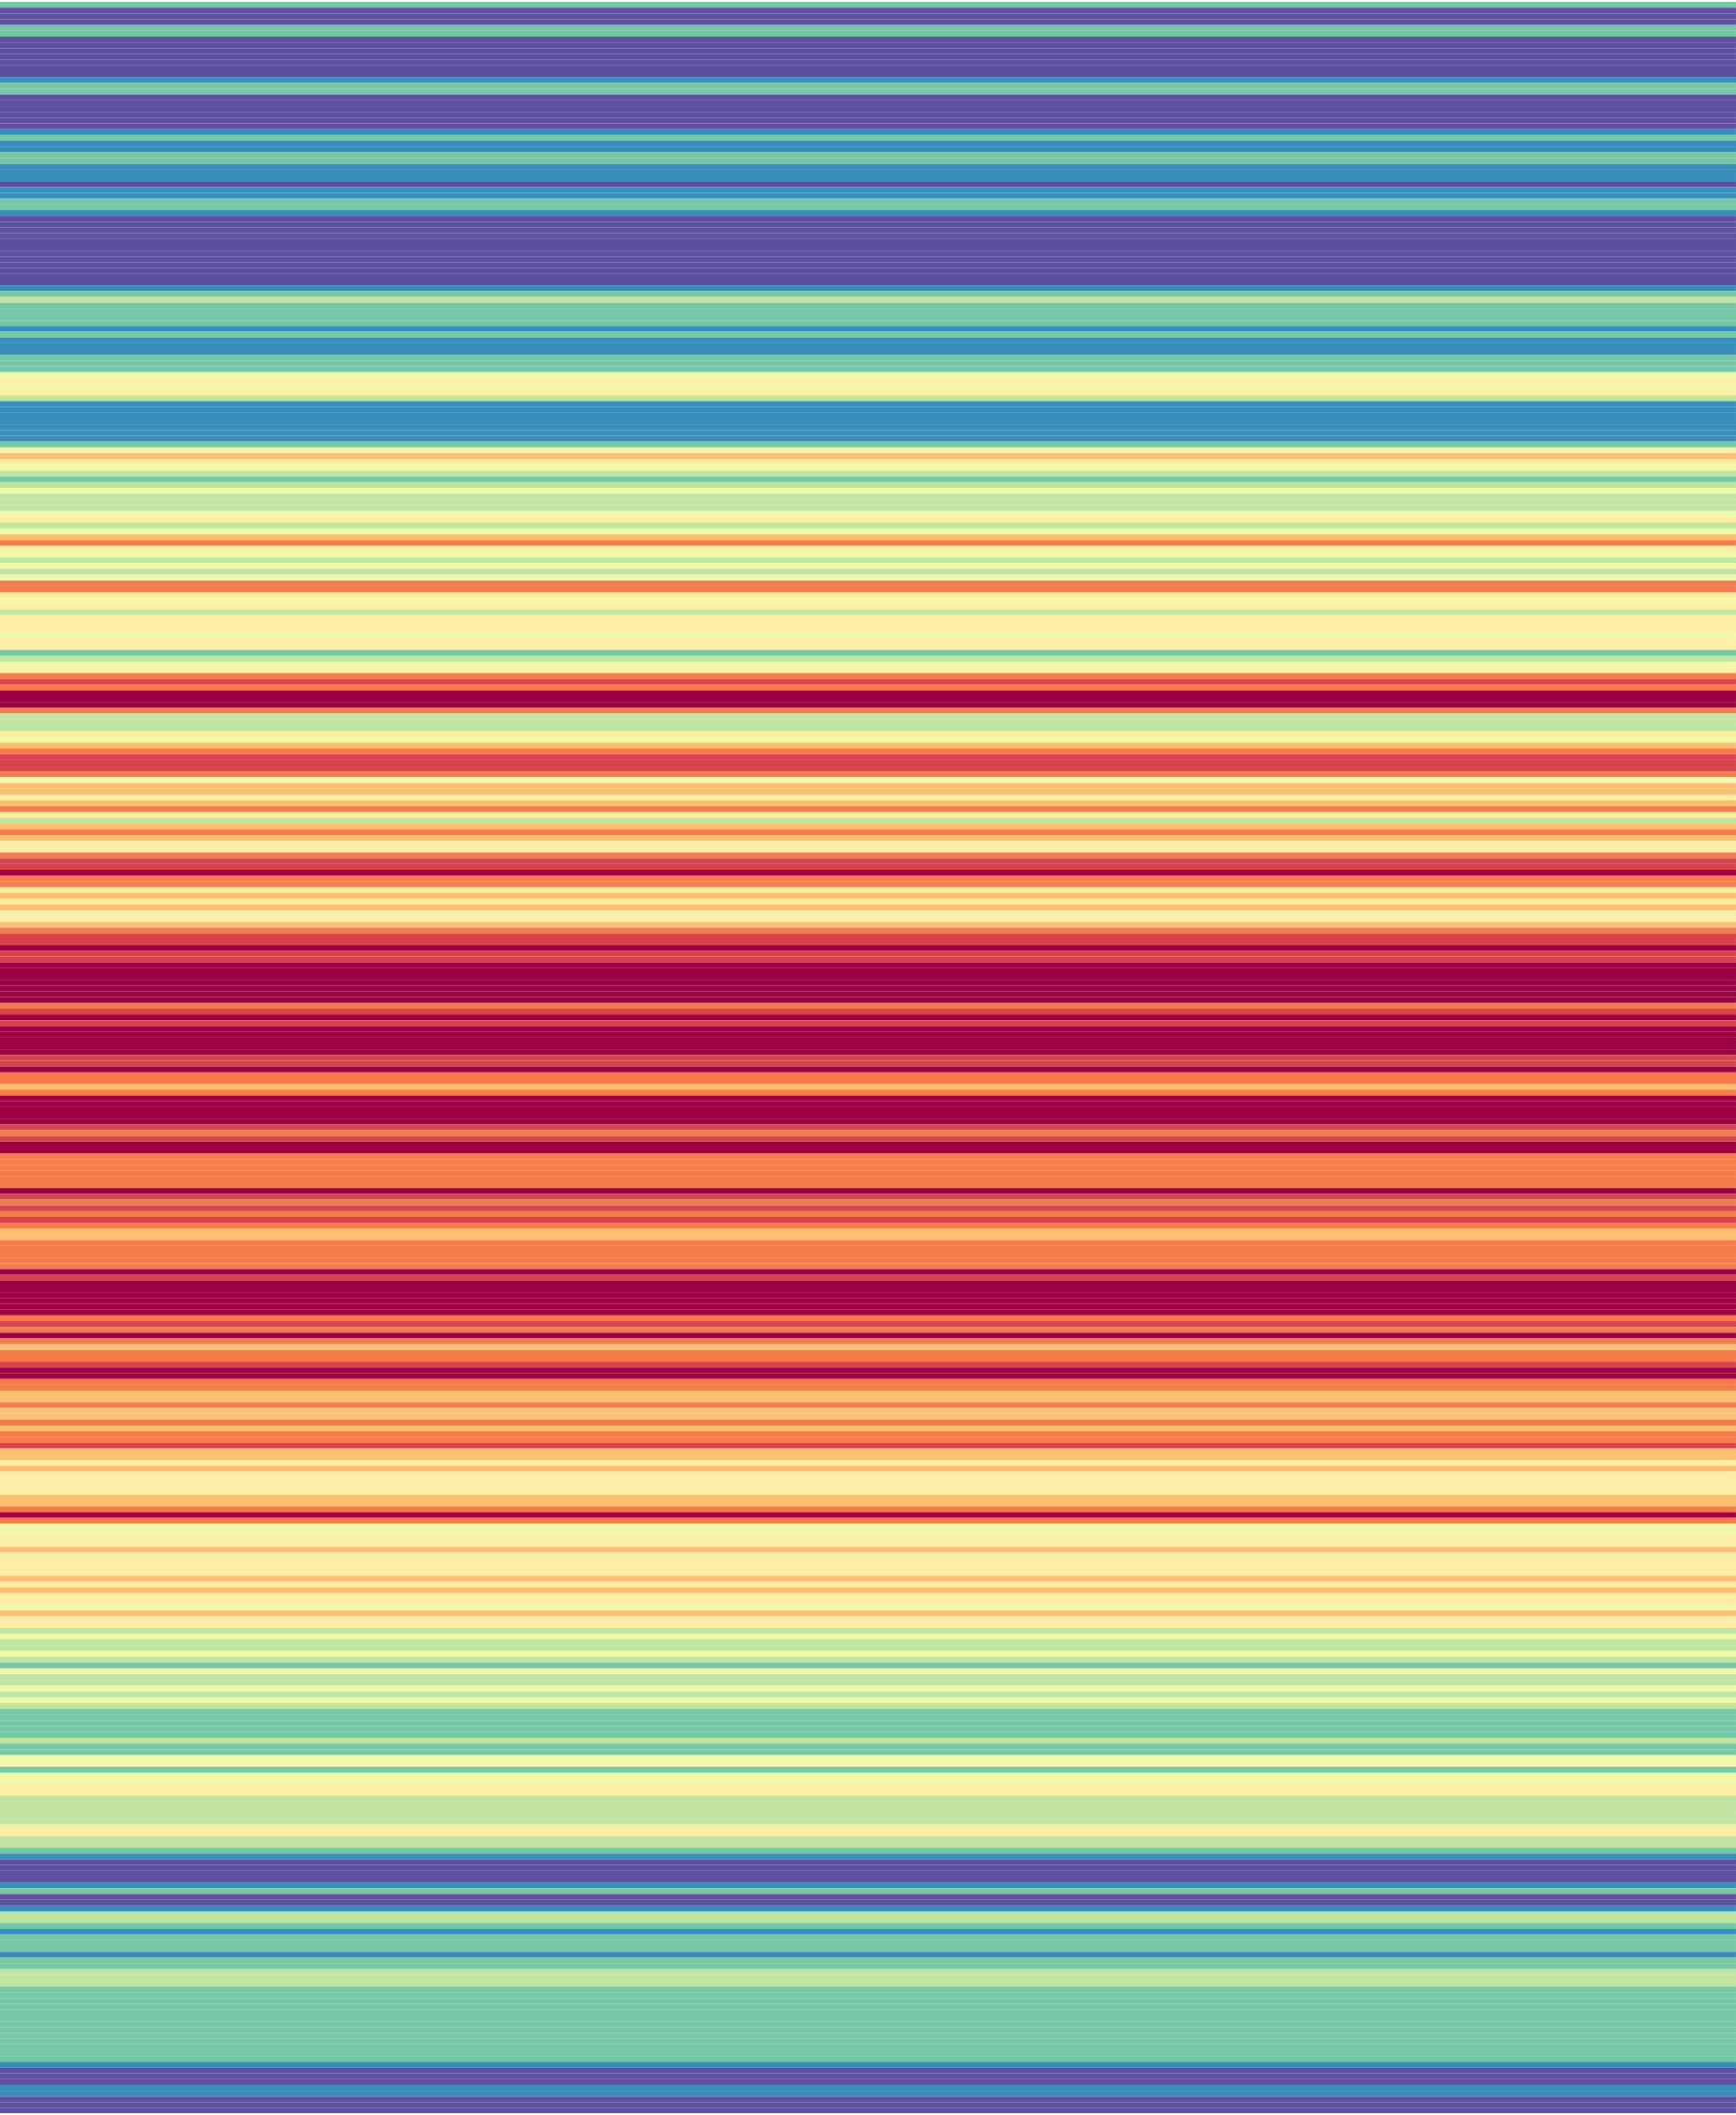
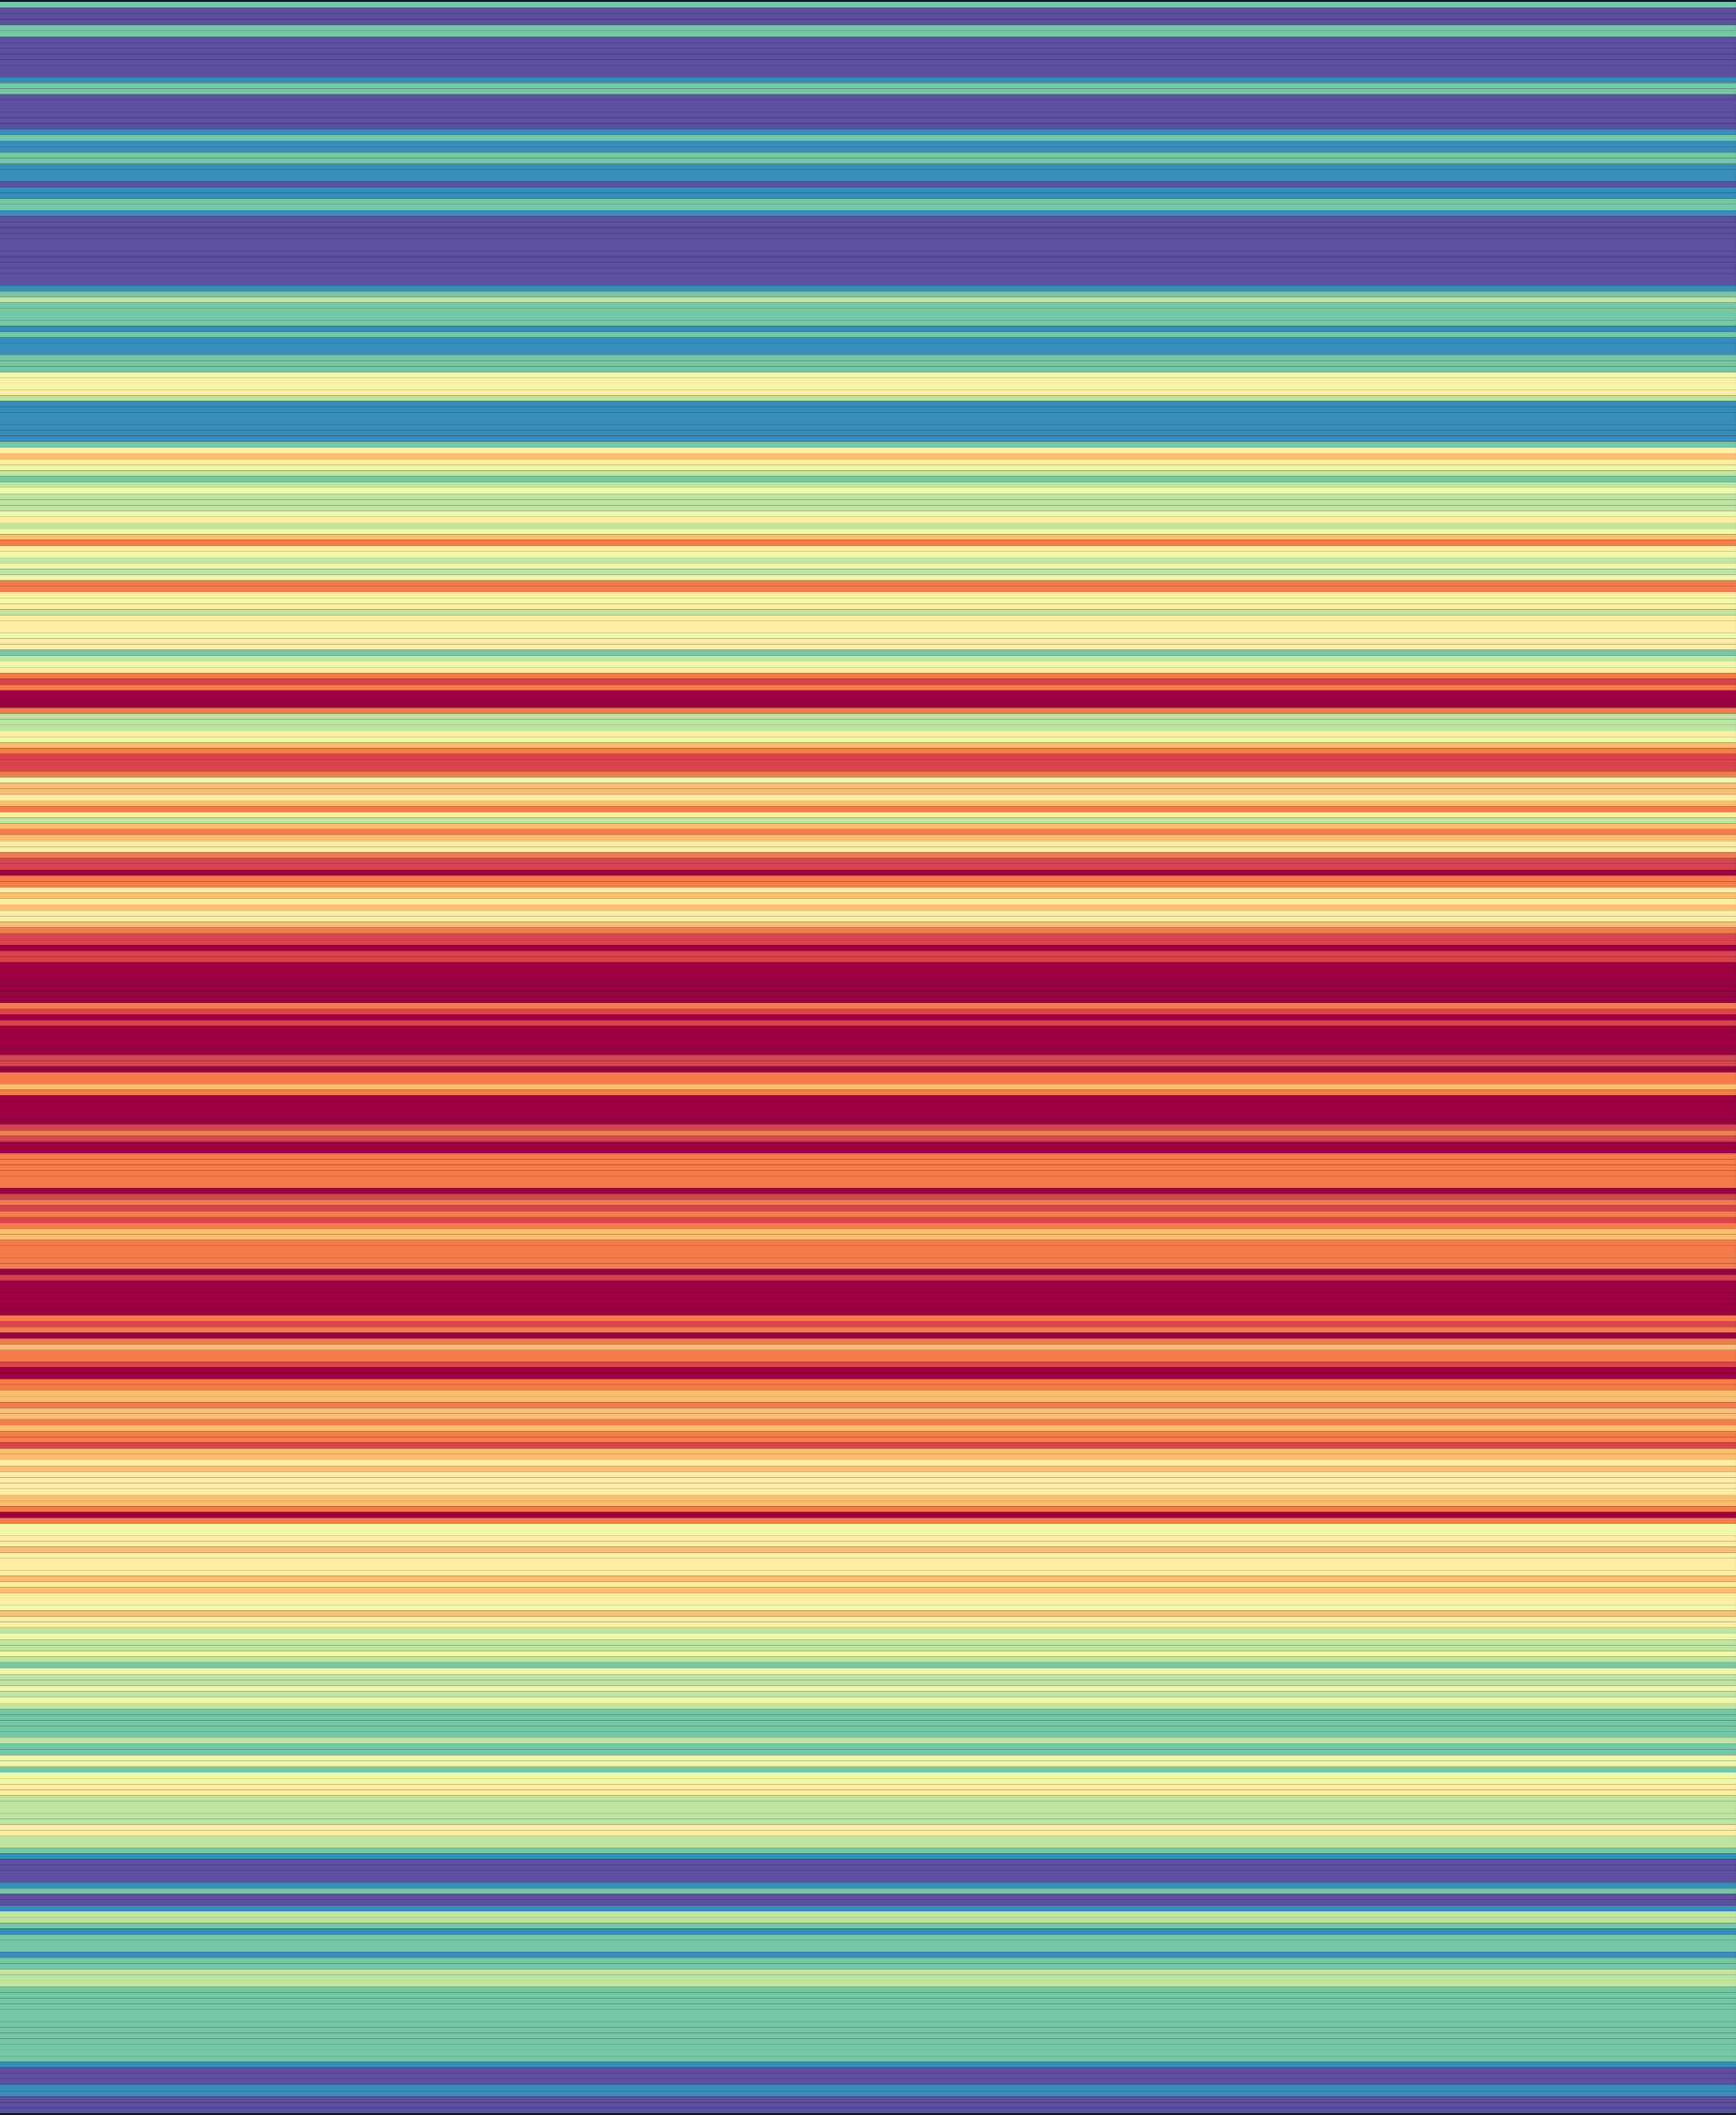
- On the Preview step, choose a Pattern in the toolbar above the preview. Rows is the classic pattern, with one row for each day.
- Set it up in the settings below it, like the number of stitches in a row, or squares across.
- Touch or click a row to see its date and weather.
See every pattern in Preview.
6. Save Your Project
- Press Project at the top, then Save Project.
- To give it a name, press its name at the top of the page, type a new one, and press Enter.
After that, your changes save automatically. Your project is in My Library, in this browser, and in your account when you're signed in. Keeping your projects safe.
7. Download Your Project
- Press Project, then Download, then PDF.
- Choose what's in it, beside a preview of its pages, then press Download.
The PDF has your colors and ranges, and every day's weather in its color. Printing and keeping your place.
If Something Goes Wrong
My place isn't in the list
Choose a nearby town. The weather covers an area around a place anyway.
Get Weather Data can't be pressed
Choose your place from the list (typing it isn't enough), and check for a message under the dates. See Location & Dates.
The weather doesn't come, or looks wrong
When the weather doesn't match your thermometer, and weather messages.
Some colors are hardly used
Your weather spends more time in some ranges than others. Choose Ranges, then Equal days.
More Detail
- Location & Dates: Choosing places and dates, and what to do when one is not found.
- Weather: Where the weather comes from, and how to view, group, edit and import it.
- Gauges & Ranges: Gauges, their ranges, and every option in the Ranges menu.
- Colors & Yarn: Getting colors, choosing yarn colorways, and sorting, pasting and exporting them.
- Preview: Preview patterns, their settings, your progress, and seasons.
- Download: The PDF, the weather spreadsheet (CSV), and the preview image.